Incident Reports and Exports
Incident data becomes most useful when managers can compare events, identify recurring risks, and prove how problems were handled. TARGPatrol supports an interactive By Incidents report, scheduled delivery, and individual Incident PDF exports.
Build a By Incidents report
Open Reports and select By Incidents.
Choose the runtime date and Day, Week, Month, Quarter, or Range.
Select a saved configuration or continue with No configuration.
Select Build report and review the columns, filters, and sorting.
Generate the report and review its parameter summary above the table.
Choose report columns
Columns can include Incident name, external ID, Type, Category, state, priority, reporter, assignee, occurrence date, creation date, Location, Point, and tags. Add or remove columns and drag them into the order required for the table and export.
Configure column totals
You can also choose totals for Incident report columns. For example, count non-empty Incident names, count different Location values, or show the earliest and latest occurrence dates. Available options depend on the column type. Save these choices in a configuration or in the Scheduled Report; they are included in report PDF/Excel exports.
Filter Incident data
Workflow state
Incident Type and Category
Priority
Location and Point
Reported by and assigned to
Tags
Select at least one Incident Type before Category. The Category list then shows only values that belong to the selected Types. If a saved Category is no longer valid, TARGPatrol removes it from the effective filter.
Sort results
Sort By Incidents by Incident name or occurrence date, in ascending or descending order. Sorting is recorded with the generated report and can be reused in a configuration.
Reuse the setup
Save the interval, columns, filters, and sorting as a Personal or Organization configuration. Concrete dates remain run-only, allowing the same setup to be reused for the next reporting period.
History and access rules
History restores the exact generated result and its parameters. Reports respect organization and Location access, so they cannot expose Incidents the current user is not allowed to view.
Export report results
After the report contains data, select Export and choose Excel or PDF. Report export is available on paid plans. Completed background exports are available through Notifications.
Export an individual Incident
Open Incidents.
Open the required Incident.
Select Export PDF.
Open or download the generated file when it is ready.
Exporting an individual Incident as a PDF is available on Base and Enterprise to users with Incident export permission. It is unavailable on Free.
Export an Incident PDF on mobile
In the mobile app, open a synchronized Incident and select Export PDF in its details. You must be online, have Incident export permission, and use Base or Enterprise. Free does not include PDF export. A local draft must synchronize before its server record can be exported.
Export selected Incidents as PDF
In the Incidents table, select the records you need and choose Export incidents to PDF. Select up to 25 Incidents. Choose one combined PDF or a ZIP with a separate PDF for each Incident. Only the selected records are included; this is different from exporting the By Incidents report.
Bulk PDF export is available on Base and Enterprise to users with Incident export permission, not on Free. If processing continues in the background, download the finished file from Notifications. To get original attached files, use the separate Download all attachments action for an individual Incident.
Download all attachments as a ZIP
Open Incidents and select the Incident.
Select Download all attachments.
Save the generated ZIP archive.
The ZIP contains files attached directly to the Incident and to its comments. It is a separate download from the Incident PDF. This action is available on Base and Enterprise, unavailable on Free, and disabled when there are no attachments.
Schedule an Incident report
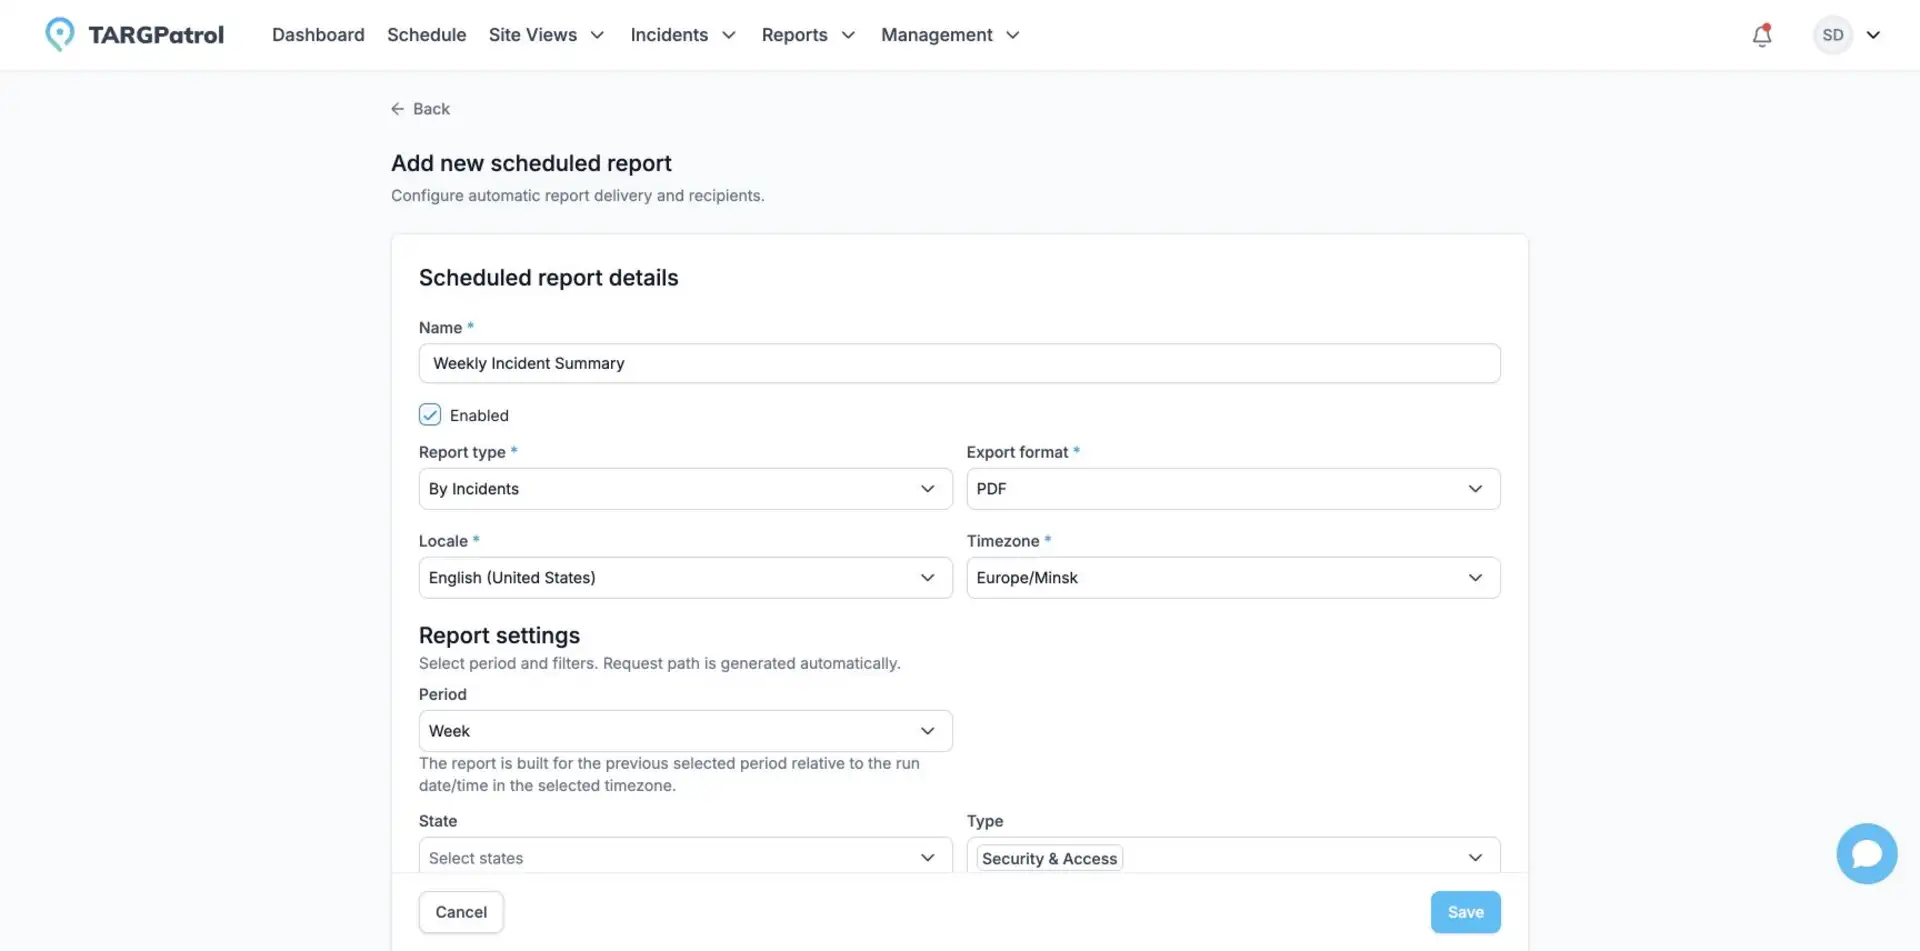
Create a Scheduled Report, choose By Incidents, configure its columns and filters, select the timezone and delivery schedule, and add recipients. The schedule keeps its own report parameters.