

Location Geofencing: Setup and Event History
Location geofencing helps you review when a mobile user is confidently detected outside a work area and when they return. Draw a boundary around a Location, enable tracking for selected users and review the recorded evidence in the web app.
Three related features serve different purposes: GPS Point proximity validates a check-in near a checkpoint; optional GPS tracking records positions and routes; Location geofencing evaluates those GPS samples against a polygon. A Location geofence does not automatically block or complete tasks or check-ins.
Set up a Location boundary
Open Management → Locations & Points and create or edit the required Location.
Choose “Configure on map”. The map in the main form is a preview, not an editing surface.
In “Location position”, click the map once to set the position or drag the marker. Set a position before enabling geofence.
Switch to “Geofence boundary”, turn on “Enable geofence” and click empty map space to add corners. The shape closes automatically after three corners.
Drag a corner to move it, drag a midpoint handle to insert a corner or right-click a corner to remove it. Use one non-crossing polygon with 3–256 distinct corners; holes are not supported.
Choose Apply to copy the draft into the form, then Save the Location to persist it. Cancel or closing the editor discards the map draft.
The position marker and polygon are separate: moving the marker does not move the boundary. In the web editor, removing the position or turning off geofence clears the boundary after Apply and Save. Switching it back on does not restore the removed shape. To replace only the boundary, draw a valid replacement before applying, or disable geofence.
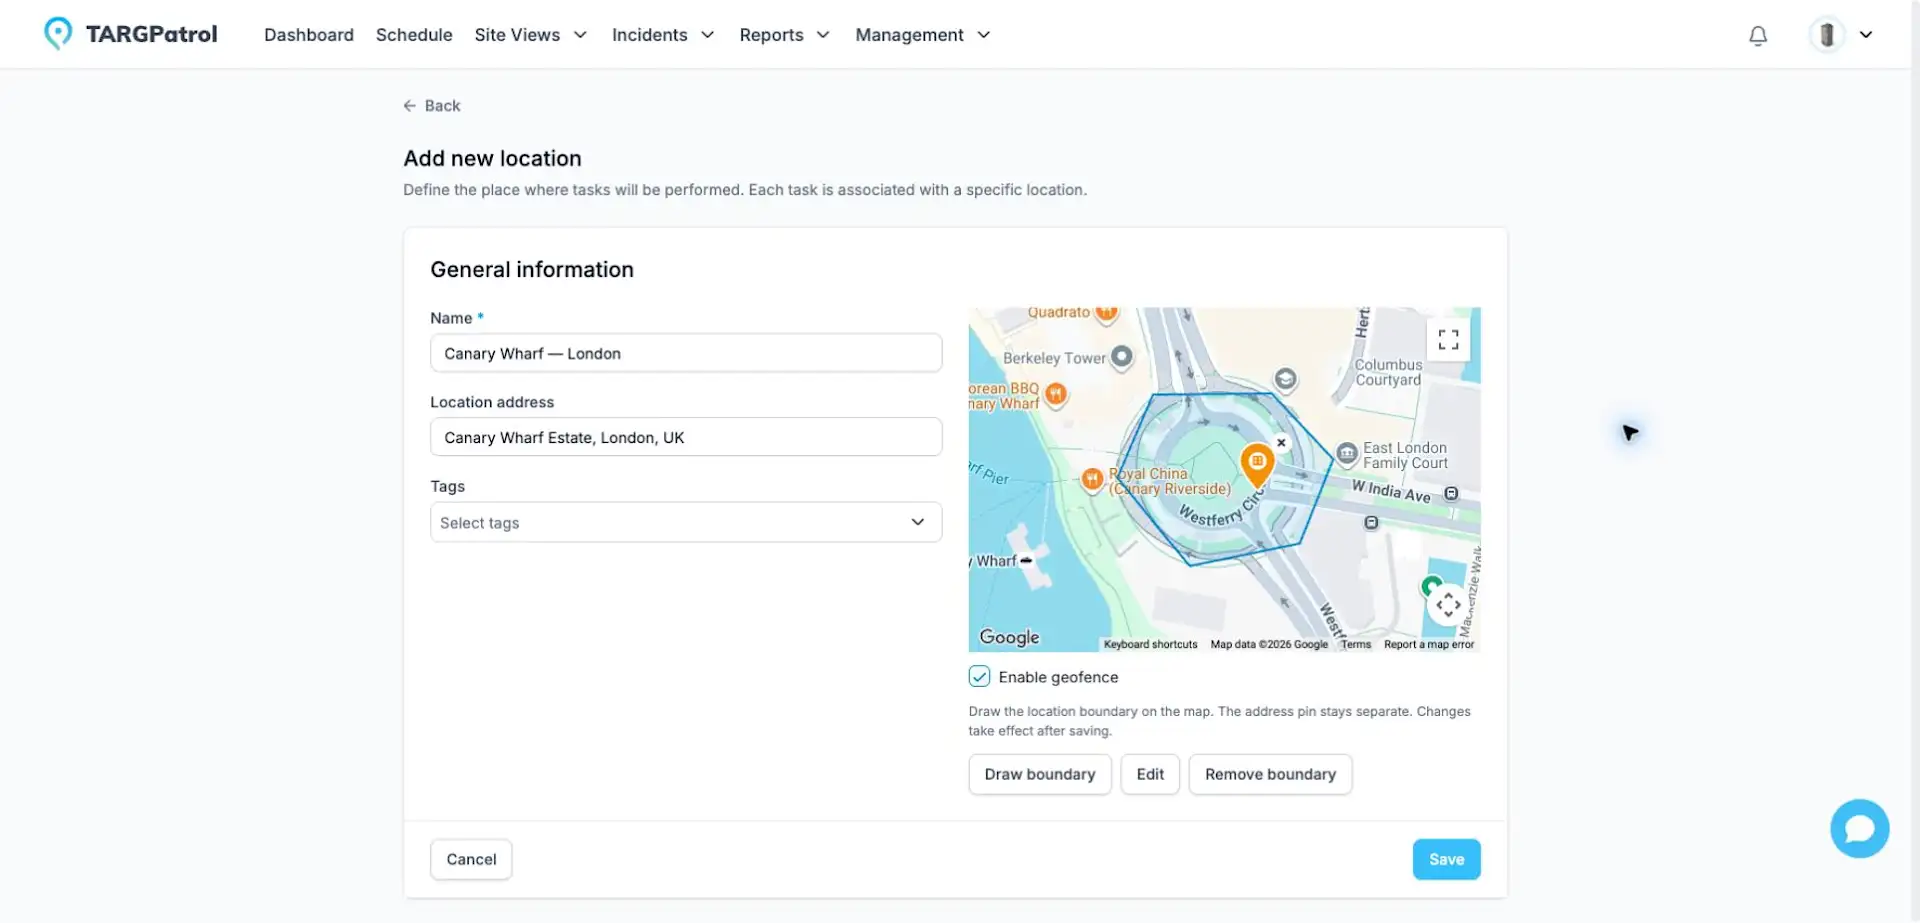
Illustrative boundary in Canary Wharf, London, UK—not a customer deployment. The earlier English editor is shown; the current editor uses Configure on map. This example was not saved.
Enable monitoring for a user
Open Team and edit the user in the intended organization.
Assign the relevant Locations; non-Owner users need access to the Location attached to their GPS samples.
Enable GPS tracking, then “Geofence tracking”, and save. The mobile user must select the intended Location, with an enabled boundary, and allow device location access.
Geofence tracking is a separate, per-organization opt-in. Existing users are not enrolled automatically. Turning GPS tracking off also disables geofence tracking; turning GPS back on does not re-enable it. A Location boundary alone is not enough to monitor a user.

English interface: GPS tracking and Geofence tracking are separate options. Monitoring also requires Location access and an enabled Location boundary.
Review events and map evidence
Open a User or Location record and select the “Geofence” tab. Events appear newest measurement first; scroll to load older records. Select an event to see the recorded position, reported GPS accuracy and the boundary used for evaluation.
“Exited”: a recent inside position and a later outside position support an observed exit.
“Detected outside”: the user was confidently observed outside, but the available samples do not establish an actual crossing.
“Returned”: a confident inside position closes a previously recorded outside episode. It is not another violation.
Owners can review events across the organization. Admins can review events only in their currently assigned Locations. Managers, Users and Guards do not have access to this event view. These viewing permissions are separate from the settings that enable tracking for an employee.
The map shows saved evidence, not an exact crossing route or crossing time. Phone measurement, server detection and database recording times can differ. An event keeps its boundary snapshot after later boundary edits; if the previous inside GPS sample is no longer available, the event remains visible with an explanation.
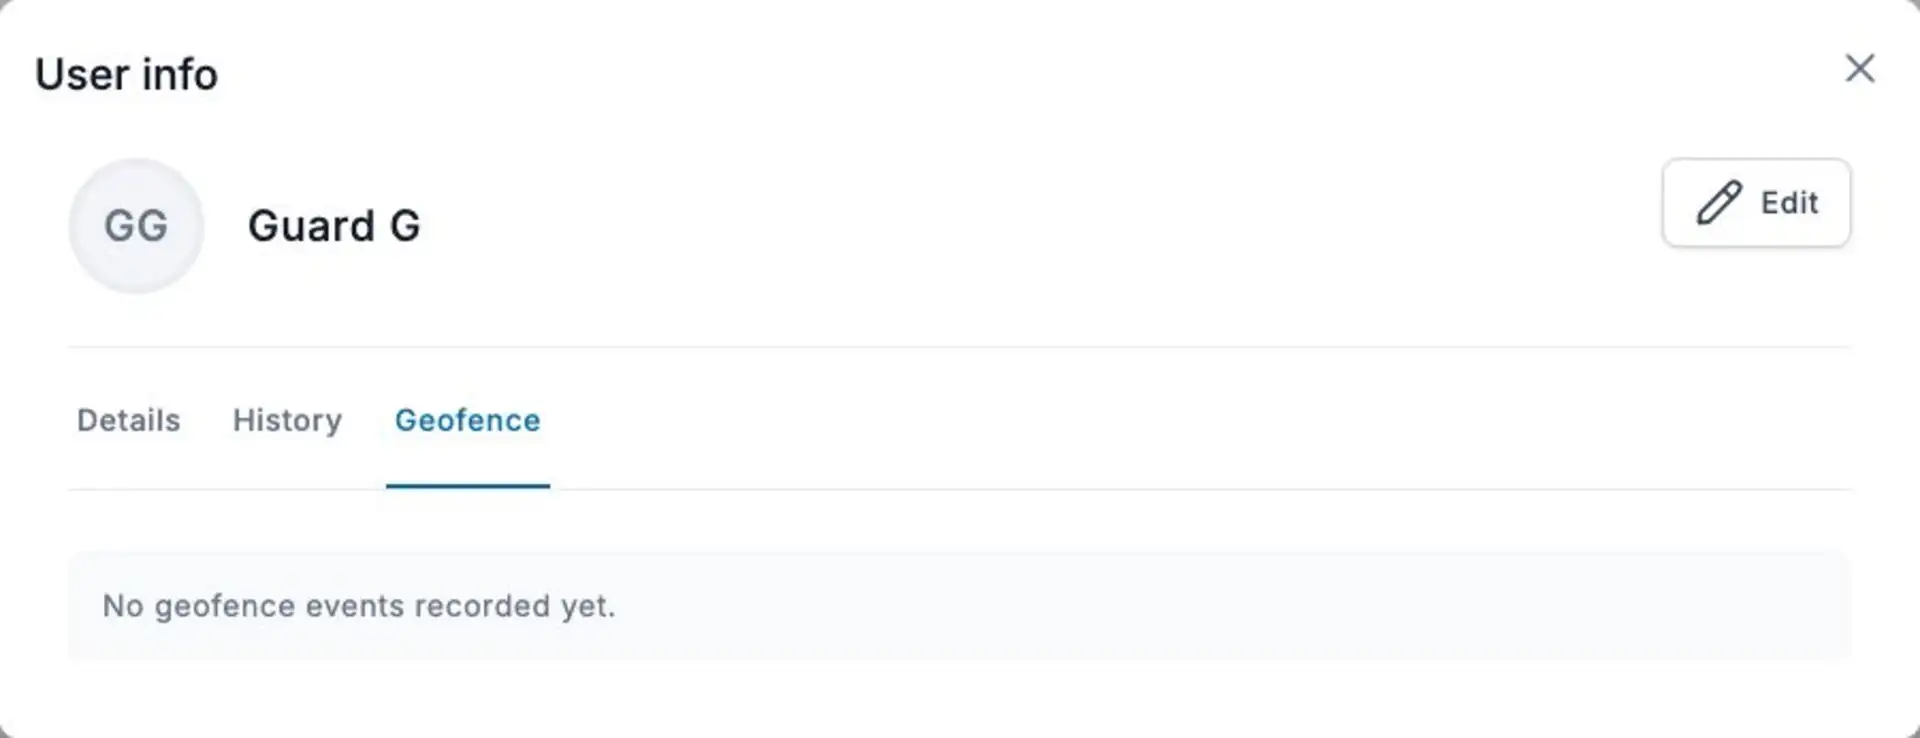
The Geofence tab in the English interface. This example shows a demo user with no recorded events.
Free, Base and Enterprise
New geofence events are recorded on Base and Enterprise only. On Free, you can prepare Location boundaries and user preferences, and ordinary GPS logs can still synchronize. Previously recorded geofence events remain available when your permissions allow access.
Downgrading to Free stops new geofence event recording; a downgrade alone does not delete existing events. Upgrading resumes evaluation for newly received GPS data, without backfilling measurements already stored on Free. Offline uploads use the plan and tracking settings in effect when the server processes them.
GPS accuracy, offline use and limitations
Monitoring depends on GPS samples from the mobile app. Optional GPS tracking records while the app is open and in use; this is not continuous live or background monitoring. Poor accuracy or a position close to the boundary may be inconclusive rather than create an event.
Supported offline samples can synchronize later. Events use the phone measurement time, while server detection may happen after reconnection. Duplicate or older out-of-order samples do not rebuild event history. Do not treat the latest recorded event as a guarantee of someone’s current position.
Newly processed samples use the latest saved boundary, including delayed offline samples. Editing a boundary does not recalculate old events and can affect how the next sample is classified, even without movement. Switching the selected Location resets the observation baseline; it is not a confirmed return to the previous Location.
This rollout records events for review; automatic geofence notification delivery is not enabled. Provide appropriate notice to personnel and follow your organization’s privacy policies. The initial monitoring model assumes one phone per user.
Why are there no events?
Check the plan: new event recording requires Base or Enterprise.
Check that the Location has a saved, enabled boundary and the user has Location access.
Check both GPS tracking and geofence tracking for the user, device permission and the Location selected in the mobile app.
Open the mobile app and confirm GPS synchronization after reconnecting. Remaining inside normally does not create events; low-confidence positions may also produce none.
Check viewing permissions. If access was recently granted, refresh the session, then reopen the User or Location details.