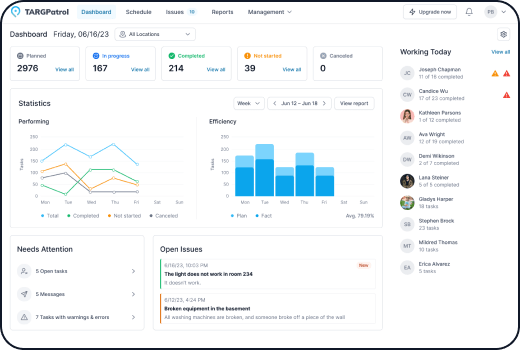
Creating Points in TARGPatrol
In this guide, we will explain how to create points in TARGPatrol, outline their purpose, and describe the different types available. Points represent specific physical or virtual locations where employees need to perform check-ins or complete tasks. You can choose from multiple point types, including QR codes, NFC / RFID tags, GPS coordinates, and virtual points, depending on your operational needs. Each point can be linked to a specific location for better organization and tracking. Once created, these points can be used in tasks and issues to ensure accountability and accurate reporting.
TARGPatrol supports multiple types of points for check-ins, giving you flexibility based on your operational needs.
  • QR Points: These use printed QR codes placed at specific locations. Employees scan the code using the mobile app to check in.

  • NFC/RFID Points: These use NFC or RFID tags that employees can tap with their mobile devices to confirm their presence.

  • GPS Points: These are location-based points that use the device’s GPS to verify check-ins when the employee is within the designated area.

  • Virtual Points: These points do not require any physical tag or location. Employees check in directly from the mobile app when they reach the designated place.

Creating a Point

There are two ways to add Points in TARGPatrol: via the web application or directly through the mobile app.
To create a new Point using the TARGPatrol Web application, follow these steps:
  1. Go to the web application (or the mobile app) and log in with your account. For more details on registration and authorization, refer to the previous lesson.

  2. Navigate to the menu Management -> "Locations & Points".

  3. Click the "Add Points" button in the location where you want to add a point.

  4. To create a point, click on the “Create Point” button to open the popup window. In the popup, fill in the required fields: Point name and Type.

  5. If you want to edit or delete a Point, simply click on the corresponding icons located next to the Point’s name. The pencil icon allows you to edit the Point’s details, while the trash icon lets you delete it from the location.
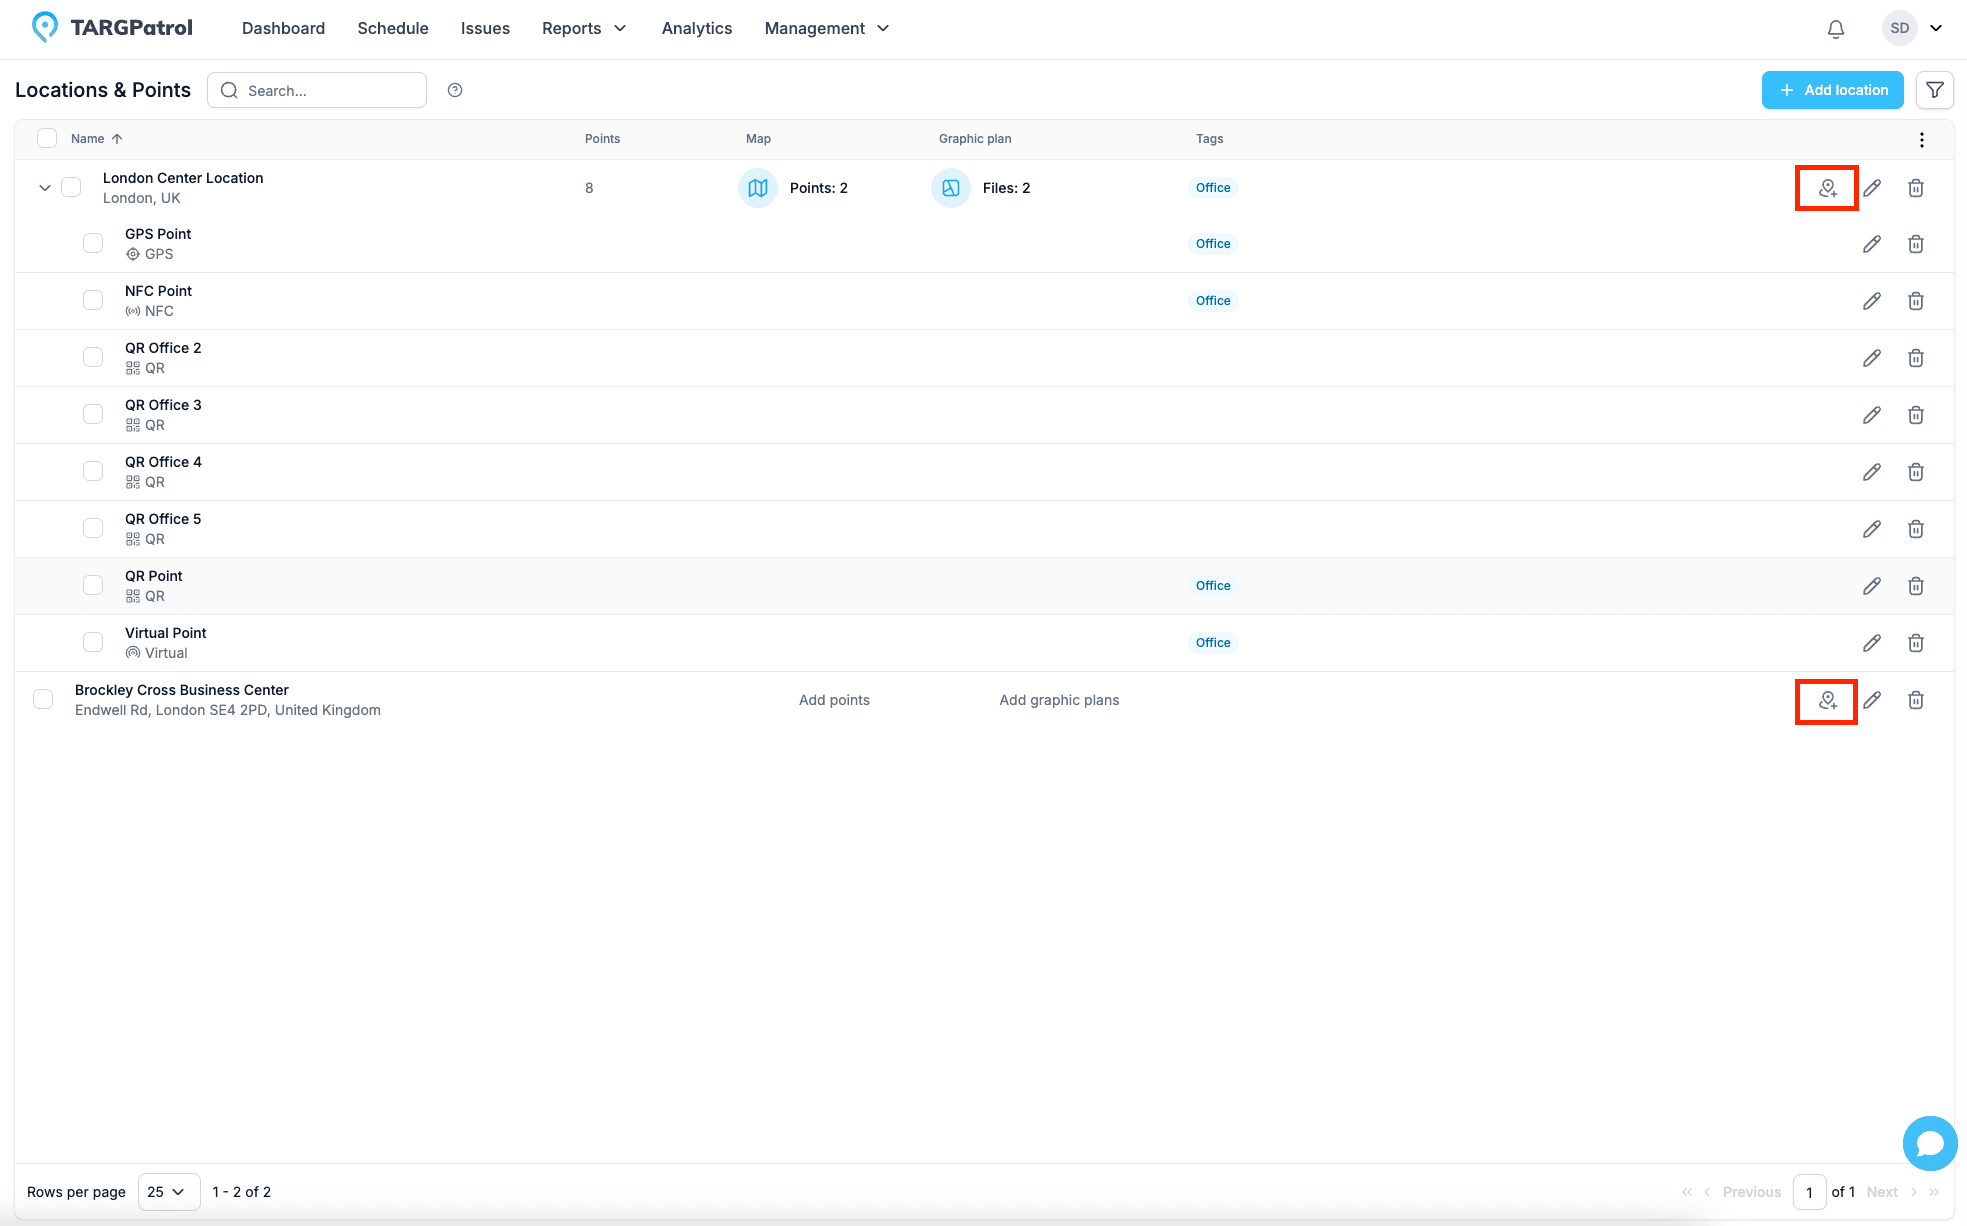
Locations and points

How to Generate a QR Code and Assign It to a Point
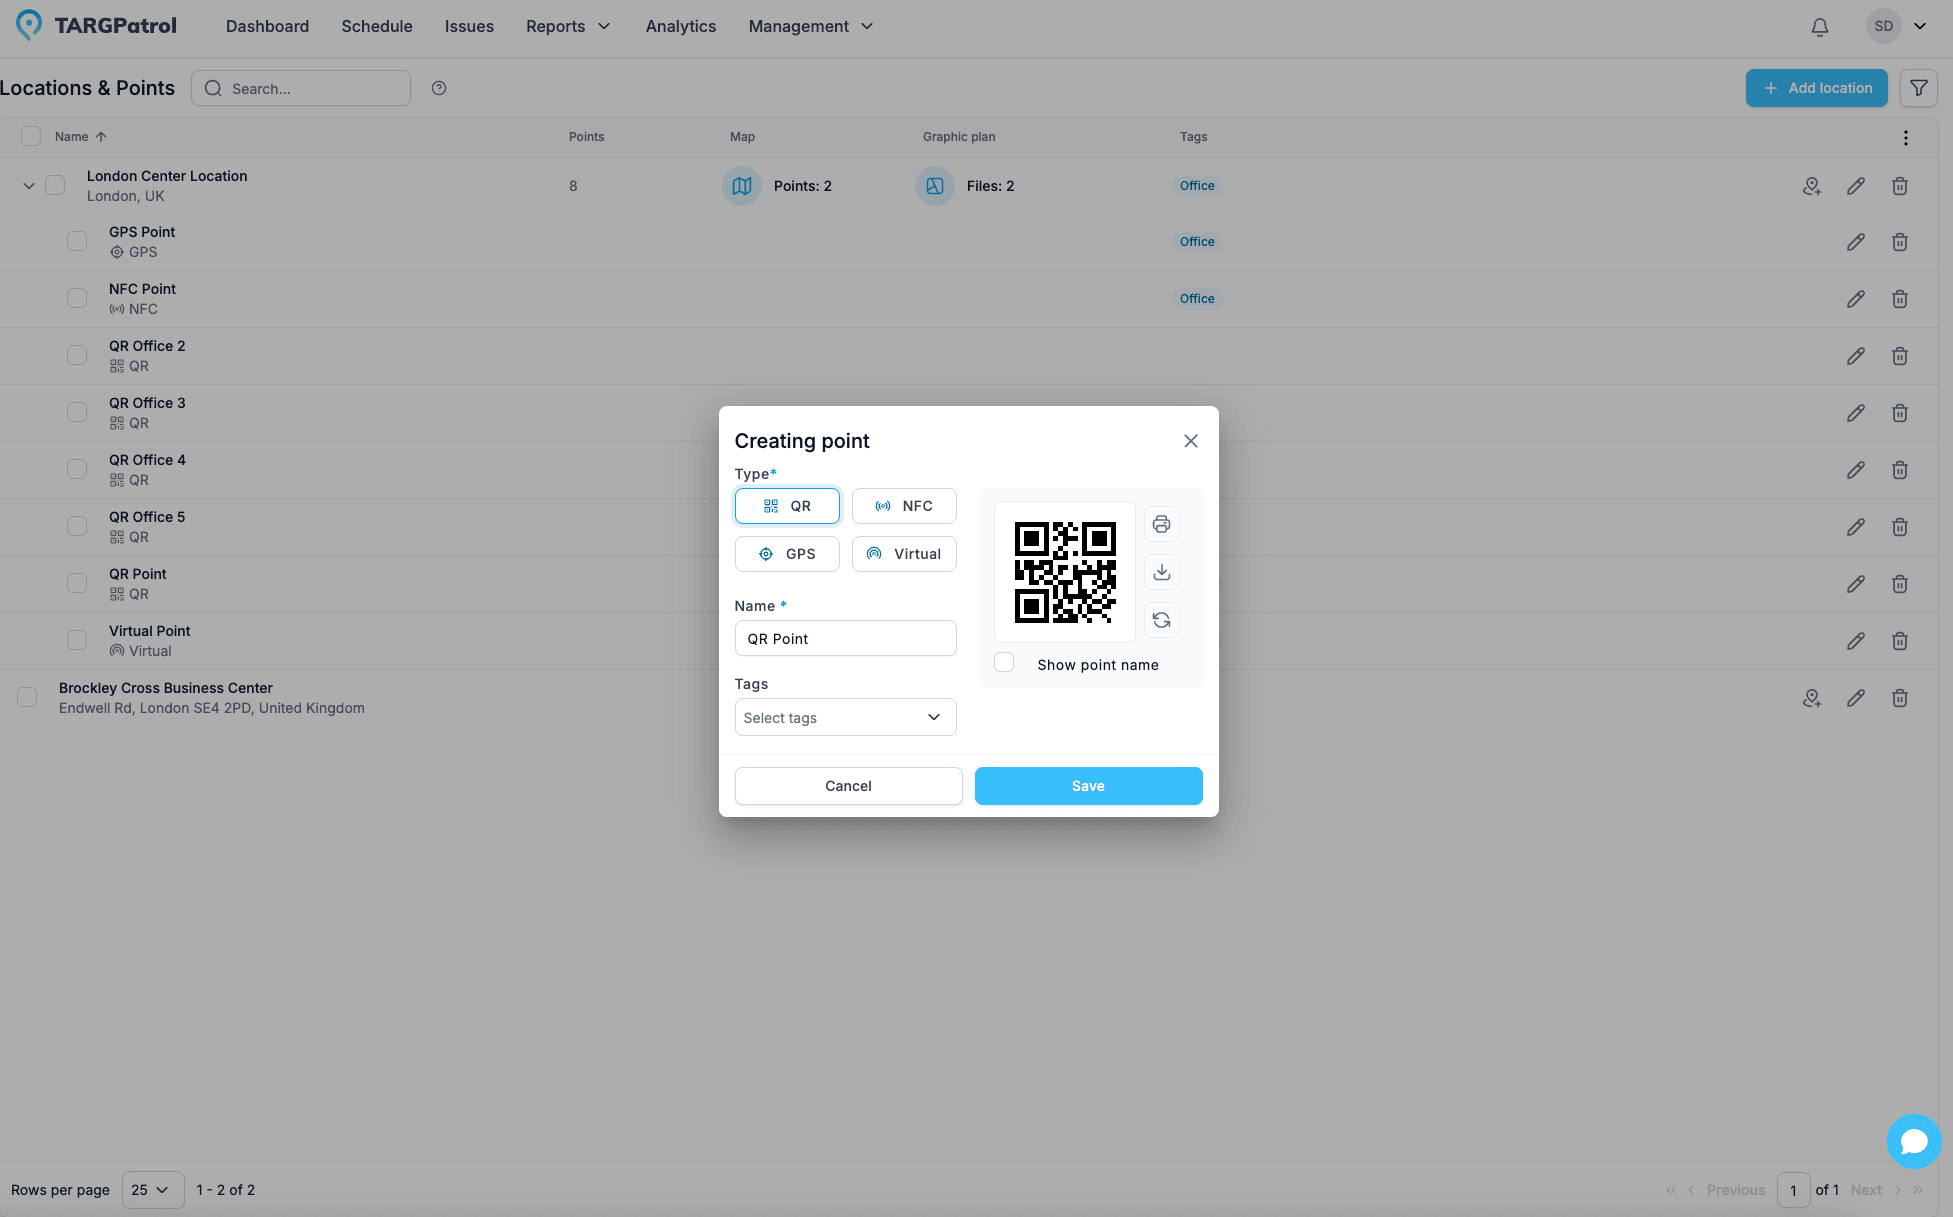
To assign a QR code to a Point in TARGPatrol, open the Point creation or edit popup and choose QR as the Point type. The system will automatically generate a unique QR code for that Point. You can download or print this code directly from the popup and place it at the physical location for easy check-ins during task execution.
Additionally, you can export multiple QR codes at once from the main Locations & Points table. Simply select the Points you want, then use the export option to download or print QR codes for all selected Points in one action—perfect for setting up multiple locations efficiently.
Locations and points

How to Scan an NFC Code and Assign It to a Point

You can assign an NFC code to a Point in two ways:
  1. Manual Entry – Enter the NFC code directly in the Point form. You will need to know the code beforehand (usually a 7-byte HEX value).

  2. Using the Mobile App – Use the TARGPatrol mobile app on iOS or Android to scan the NFC tag and create or update the Point automatically.

Placing a Point on the Map and Assigning GPS Coordinates
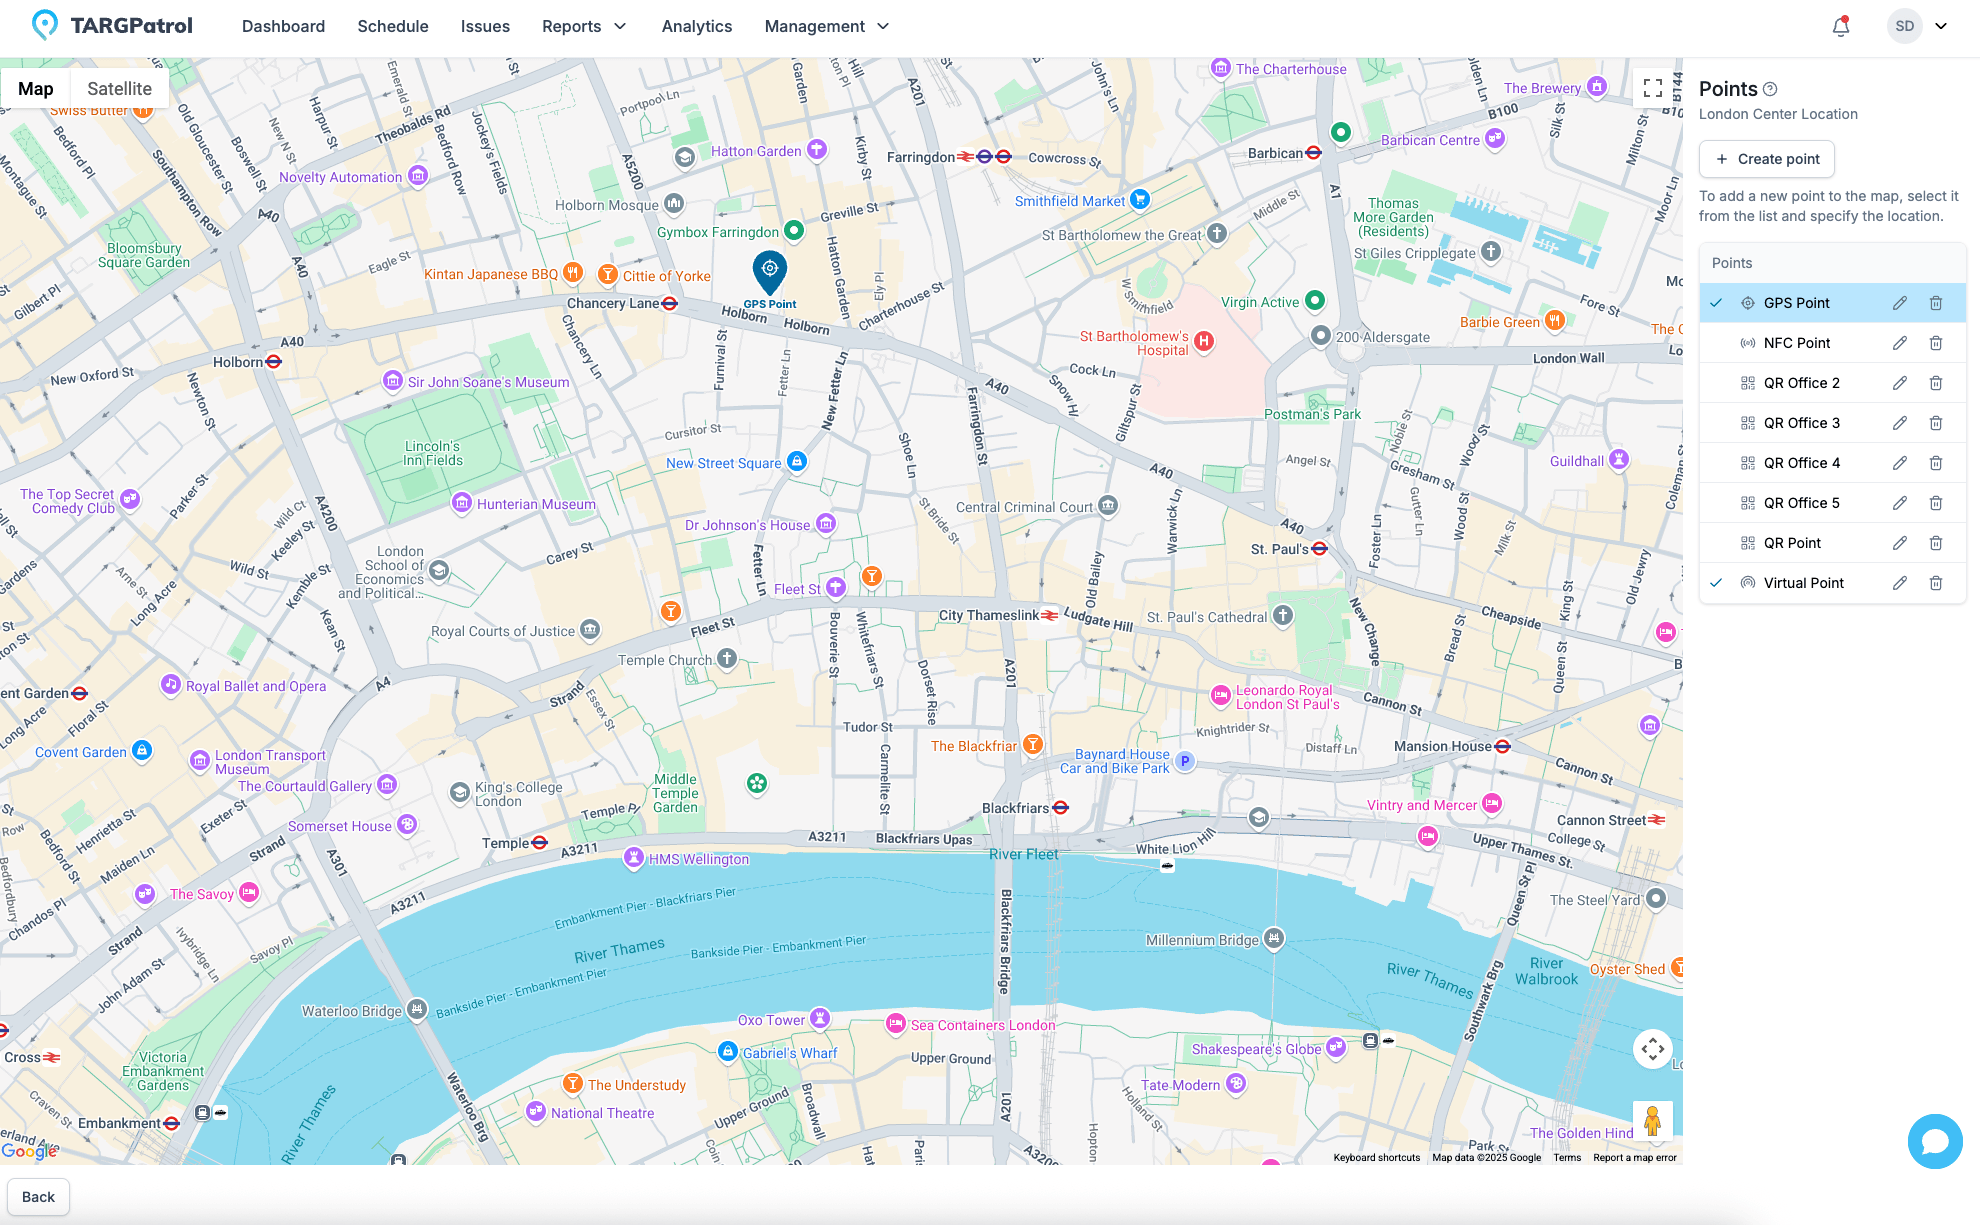
To place a Point on the Map plan, click on the Point in the sidebar list and then click on the desired location on the Map. The Point will automatically receive GPS coordinates based on the selected position. You can also drag and drop the Point marker directly on the Map to adjust its placement precisely.
Assigning GPS coordinates to a Point is required if you plan to use GPS check-ins for tasks and steps.
Locations and points and gps
The same approach works for Graphic Plans, but in this case, the marker is placed only for visual positioning, and no GPS coordinates will be assigned.

Using Graphic Plans to Visually Place Points
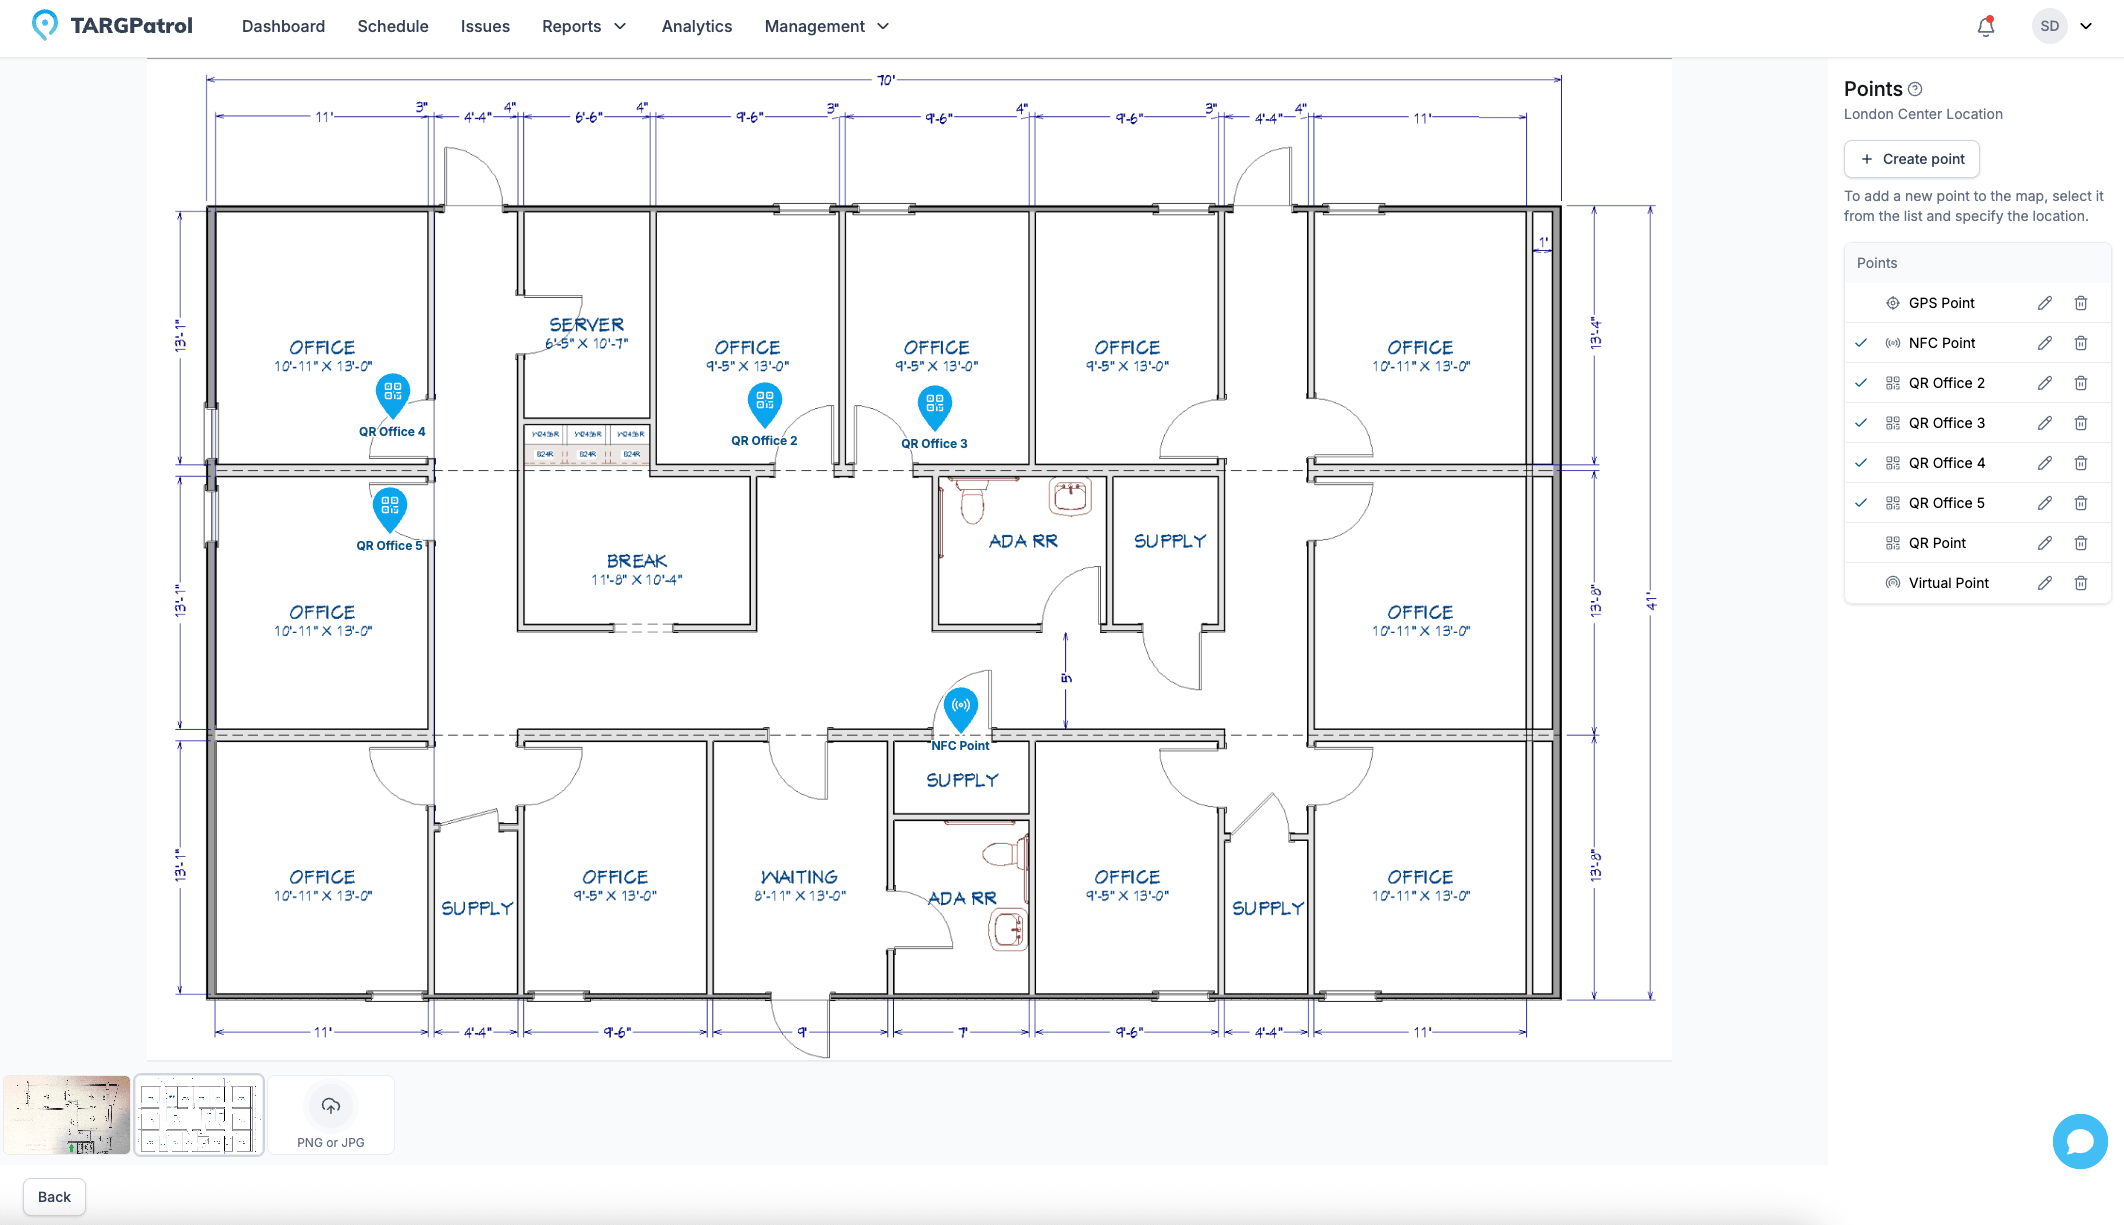
Graphic Plans in TARGPatrol allow you to visually represent physical spaces like building layouts, floor maps, or outdoor areas. This feature makes it easier to place and manage Points within a clear visual context. To use a Graphic Plan, simply upload an image (e.g., a blueprint or map) for a specific Location. Once uploaded, you can assign Points by clicking on them in the sidebar and placing them directly on the plan. This helps teams understand the exact position of checkpoints or tasks within the area. Note that unlike Map placement, Points added to a Graphic Plan are positioned visually and do not carry GPS coordinates.
Graphic Plans

Editing and Deleting Points

To edit or delete a point, follow these steps:
  1. Go to the web application and log in with your account.

  2. Navigate to the menu Management -> "Points".

  3. Find the desired point and click on the pencil icon to edit or the trash can icon to delete.

  4. For bulk actions, use the bulk operations feature by selecting the necessary points using checkboxes.

Read more

For more detailed guidance on setting up and managing your environment in TARGPatrol, explore our Knowledge Base articles:

- Want to understand how to structure your workspaces and add checkpoints? Visit our Locations guide to learn how to create, organize, and map Points across your areas of operation.

- Looking to streamline task execution? Check out our Checklists guide to learn how to build step-by-step action lists, attach them to tasks, and collect structured data in the field.